From Sketch to Finish: A Comprehensive Process Using Procreate Watercolor Brushes
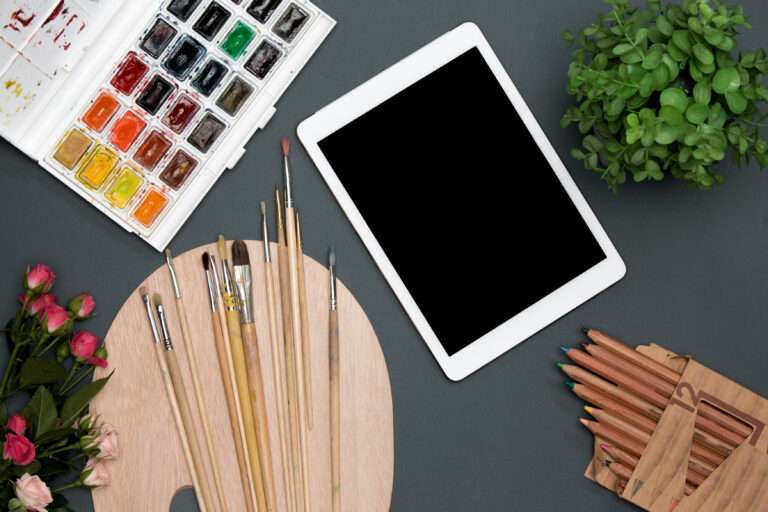
Creating digital art is a process that combines creativity with technology, resulting in a piece that can express thoughts, tell a story, or capture a moment. This guide aims to walk you through the detailed steps of creating digital artwork, from the initial concept to sharing your finished piece with the world. Intended for creative professionals and digital artists, this guide emphasizes a methodical approach to art creation.
Table of Contents
TogglePlanning Your Artwork: Conceptualization and Sketching
The first step in any digital art project is planning. This involves conceptualizing your idea and sketching preliminary designs. Conceptualization is about defining the purpose of your artwork and what you want to communicate. Once your concept is clear, begin sketching your ideas. This phase doesn’t require perfection; it’s about capturing the essence of your vision.
Step-by-Step Guide to Conceptualization
- Define the Objective: Clearly identify the purpose of your artwork. What message or feeling do you want to convey?
- Research and Inspiration: Gather references and inspiration that align with your concept. This could include photos, artworks, or thematic materials.
- Brainstorming Ideas: Jot down all ideas related to your concept, no matter how unrefined. This can include words, phrases, visual imagery, or themes.
- Refine Your Concept: Review your brainstormed ideas. Select the ones that best align with your objective and inspire you the most.
- Visualize Your Concept: Start translating your refined concept into visual elements. Think about colors, shapes, and composition that embody your idea.
- Feedback Loop: Share your concept with peers or mentors. Use their feedback to fine-tune your idea.
- Final Conceptualization: Settle on the final concept. Ensure it reflects your objective and is visually translatable into digital art.
Blocking in Colors: Establishing a Harmonious Palette
After sketching, the next step is to block in colors. This involves selecting a color palette that aligns with the mood and message of your artwork. Start by applying broad strokes of color to define the major areas of your piece. This stage is crucial for establishing the overall tone and feel of your artwork, so take your time to experiment with different harmonies until you find the right fit.
Establishing a Color Palette
- Color Theory Basics: Understand basic color theory. Know the color wheel, and how colors interact with each other.
- Mood and Theme: Decide on the mood or theme of your artwork. Colors evoke emotions; choose a palette that conveys your intended feelings.
- Reference and Inspiration: Look at artworks, nature, or photographs for color inspiration. Notice how colors work together.
- Initial Selection: Pick a few key colors that fit your theme and mood. These will serve as the base for your palette.
- Harmony and Contrast: Add complementary, analogous, or contrasting colors to create visual interest and depth.
- Software Tools: Utilize digital tools or apps to experiment with and finalize your palette. Many have features to suggest harmonious colors.
- Application Test: Apply your selected palette to a small section of your artwork. Adjust as needed based on visual appeal and thematic alignment.
- Consistency Check: Ensure your palette remains consistent throughout the artwork, adjusting for shadows, highlights, and elements in the background.
- Final Review: Look at your artwork as a whole to confirm the palette achieves the desired effect and makes the piece cohesive.
Do you wanna know how to create your color palette in Procreate? Look at here!
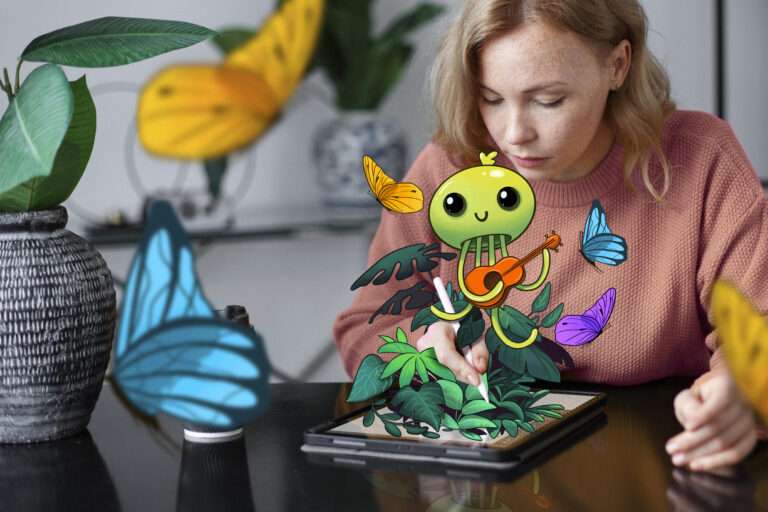
Detailing Techniques: Adding Life to Your Artwork
With your colors in place, it’s time to add details to bring your artwork to life. This step is about refining the shapes and adding textures and elements that enhance the visual appeal of your piece. Pay attention to lighting and shadows, as they can dramatically affect the realism and depth of your artwork. Detailing requires patience and precision, but it’s where your artwork starts to truly take shape.
- Layering and Depth: Begin by adding layers to your artwork. Start with broad shapes and colors, then progressively add finer details. Each layer should contribute to the overall depth, creating a more realistic or impactful visual. Use shadows and highlights effectively to enhance the three-dimensional feel. Experiment with layer blending modes to achieve different effects.
- Textures and Patterns: Adding textures and patterns can give your artwork a unique touch and add interest. Procreate has pre-installed brushes for various textures, or you can create your own using custom brushes. Consider incorporating textures and patterns in the background or on specific elements of your piece.
- Fine Details: The smallest details can make a big difference in the overall look of your artwork. Pay attention to smaller elements such as hair, fur, or intricate designs. Use a fine brush to add these details with precision.
Final Touches: Refining and Polishing for Professional Results
Even when your artwork seems complete, there’s always room for improvement. The final touches involve reviewing your piece for any areas that need refining or polishing. This could include adjusting the composition, fine-tuning the color balance, or adding subtle effects that enhance the overall impact of your artwork. It’s these small adjustments that can make a big difference in achieving professional results.
Exporting and Sharing Your Finished Piece with the World
Once you’re satisfied with your artwork, it’s time to prepare it for sharing. Export your piece in the appropriate format for your intended platform, whether it’s for print, a website, or social media. Consider the resolution and file size to ensure your artwork looks its best wherever it’s displayed.
Revising and Iterating: The Key to a Masterpiece
Remember that art is a process of continuous improvement. Don’t be afraid to revisit and revise your work. Sometimes, stepping away from a piece and returning to it later can provide new insights that improve the final outcome. Iteration is a key part of the creative process, allowing you to refine your skills and develop your unique style over time.
Harnessing the Power of Selection Tools for Detailed Work
Effective use of selection tools can greatly enhance the precision of your detailing work. These tools allow you to isolate specific areas of your artwork for detailed editing, making it easier to apply effects or make adjustments without affecting the rest of your piece. Mastering selection tools can save time and open up new possibilities for creativity.
The Importance of Regular Breaks in the Creative Process
Finally, it’s important to recognize the role of rest in the creative process. Regular breaks can prevent burnout and keep your creative energies flowing. Sometimes, the best ideas come when you’re not actively thinking about your artwork. Allow yourself time to recharge, and you’ll return to your work with fresh eyes and renewed enthusiasm.
Creating digital art is a rewarding process that blends imagination with technology. By following these steps and applying your unique creative vision, you can produce artwork that not only looks professional but also resonates with viewers. Remember, the key to success lies in patience, practice, and a willingness to explore and experiment.
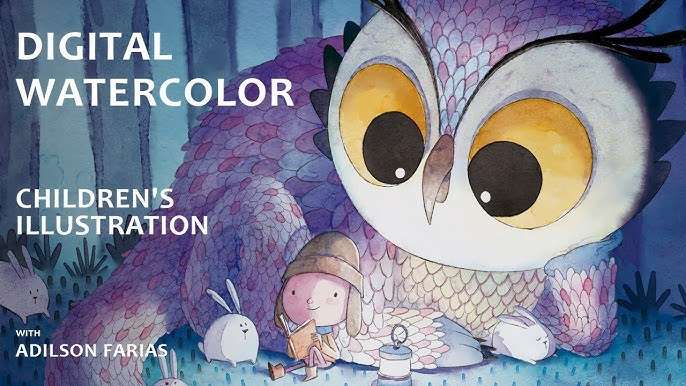
Elevate Your Art with Procreate Watercolor Brushes by AF Brush Packs
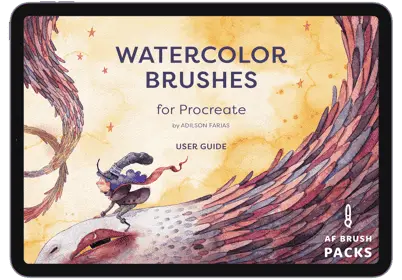
Discover the unmatched versatility of Procreate Watercolor Brushes by AF Brush Packs. Perfect for artists aiming to blend the traditional watercolor essence with digital artistry. With these brushes, transform your digital canvas into a masterpiece, effortlessly achieving lifelike watercolor effects. Ideal for both novices and professionals, this collection is your gateway to creating awe-inspiring digital watercolor art with ease and precision.
Elevate your art now – explore, experiment, and express with AF Brush Packs.