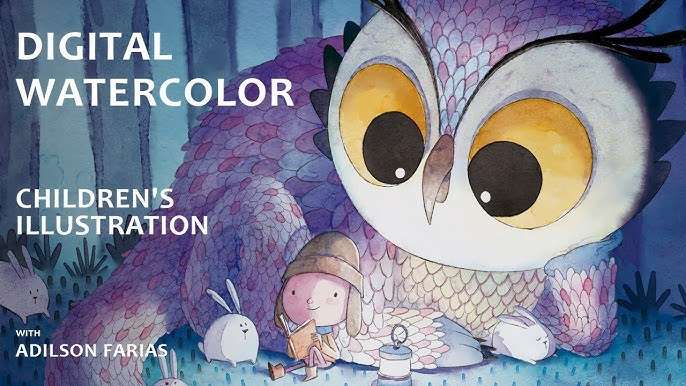
Creating a Realistic Watercolor Illustration in Procreate: A Step-by-Step Guide
Digital artistry merges the essence of traditional painting with the precision and flexibility of digital tools. Among the plethora of tools available, Procreate stands out for its intuitive interface and extensive brush library, making it a favorite among creative professionals and digital artists. This guide takes you through the process of creating a realistic watercolor illustration in Procreate, emphasizing technique and attention to detail.
Table of Contents
Toggle
1. Setting Up Your Canvas
Choosing the Right Size and Background Texture
Begin by selecting a canvas size that suits your project’s needs. For high-quality output, especially for print, a larger canvas with a high DPI (dots per inch) is recommended. Procreate offers various textures that can mimic the feel of real watercolor paper. Opt for a textured background to add authenticity to your digital watercolor illustration.
Adjusting DPI for High-Quality Output
Adjusting your canvas’s DPI is crucial for print quality. A DPI of 300 is standard for professional-quality prints. This setting ensures that your artwork remains crisp and detailed when transferred from screen to paper.
2. Sketching Your Concept
Outlining Composition and Form
Sketching is the foundational step where you outline your composition and form. Use a basic brush to draft your concept lightly, focusing on composition and general shapes rather than details. This stage is about laying the groundwork for your illustration.
Layer Management for Efficient Editing
Effective layer management is key to a flexible editing process. Keep your sketch on a separate layer from your color layers. This allows for easy adjustments and edits without affecting the base sketch.
3. Laying the Base Tones
Selecting a Harmonious Color Palette
Color selection is critical in achieving a realistic watercolor look. Choose a color palette that reflects the mood you want to convey. Procreate’s color wheel and palettes can help you select and save harmonious colors for your project.
Techniques for Applying Base Colors
Begin laying down your base tones with a broad, watercolor brush. Use light strokes and allow the digital “watercolor” to blend naturally. Procreate’s brushes can mimic the watercolor effect, where colors blend and bleed into one another.
4. Building Color and Depth
Enhancing Illustration with Multiple Layers
To build color depth, work with multiple layers. Apply deeper tones in areas that require shadow or depth, using a mix of brushes for varied textures. The layering of colors is what gives watercolor illustrations their vibrant, life-like quality.
Selecting Brushes for Varied Textures
Experiment with different watercolor brushes in Procreate to achieve varied textures. Some brushes are designed to simulate a wet-on-wet technique, while others offer a drier, more textured effect.
5. Refining Details
Fine-tuning Shadows, Highlights, and Textures
Refine your illustration by adding shadows and highlights. This step brings dimension and realism to your work. Use a fine brush for detailed areas, enhancing textures and adding crisp edges where necessary.
Brush Selection for Detail Work
Detail work requires precision. Select brushes that allow for fine, controlled strokes. Procreate’s brush settings can be adjusted for size, flow, and opacity, giving you the flexibility to achieve the desired detail level.
6. Adjusting Contrast and Saturation
Balancing Illustration Elements
Use adjustment layers to tweak contrast, brightness, and saturation. This non-destructive editing step ensures that all elements of your illustration are balanced and cohesive.
Using Adjustment Layers for Non-Destructive Edits
Adjustment layers in Procreate enable you to make changes without permanently altering your original layers. This flexibility is invaluable for fine-tuning your illustration’s overall appearance.
7. Adding Final Touches
Final Review for Cohesiveness
Review your illustration as a whole. Ensure that all elements work together harmoniously and that the illustration conveys the intended mood and style.
Sharpening and Vignetting Techniques
Apply sharpening to enhance clarity and focus. A subtle vignette can also help frame your illustration and draw attention to the center.
8. Review and Export
Ensuring Compatibility Across Devices
Before exporting, consider where your illustration will be viewed. Different devices and platforms may display colors differently. Test your illustration across devices to ensure compatibility.
Export Settings for Various Uses
Procreate offers various export options. Choose the appropriate file format and settings based on whether your illustration will be used digitally, in print, or both. For print, export in a high-resolution format like TIFF or PSD.
Creating realistic watercolor illustrations in Procreate combines the artistry of traditional painting with digital innovation. By carefully selecting your tools, managing layers, and paying close attention to detail, you can achieve stunning, life-like results. Whether for professional projects or personal exploration, the techniques outlined in this guide provide a solid foundation for mastering digital watercolor illustration.
Procreate Watercolor Brushes by AF Brush Packs
Elevate your Procreate sessions with our meticulously designed watercolor brushes, crafted to mimic the fluidity and subtlety of traditional watercolors. Experience precise control and unparalleled responsiveness, allowing for effortless blending, layering, and texture creation that brings you as close to real watercolor as digital art can achieve.
Embrace the most of your Procreate experience with results that are as professional with AF Brush Packs!