Dynamic Lighting and Shadows in Watercolor Illustrations with Procreate
Watercolor illustrations in Procreate benefit from dynamic lighting and shadows. This guide focuses on techniques to enhance your artwork. The aim is simple: achieve realism and depth. We’ll explore layering, blending modes, and color selection. Each step is designed for efficiency and impact.
Table of Contents
Toggle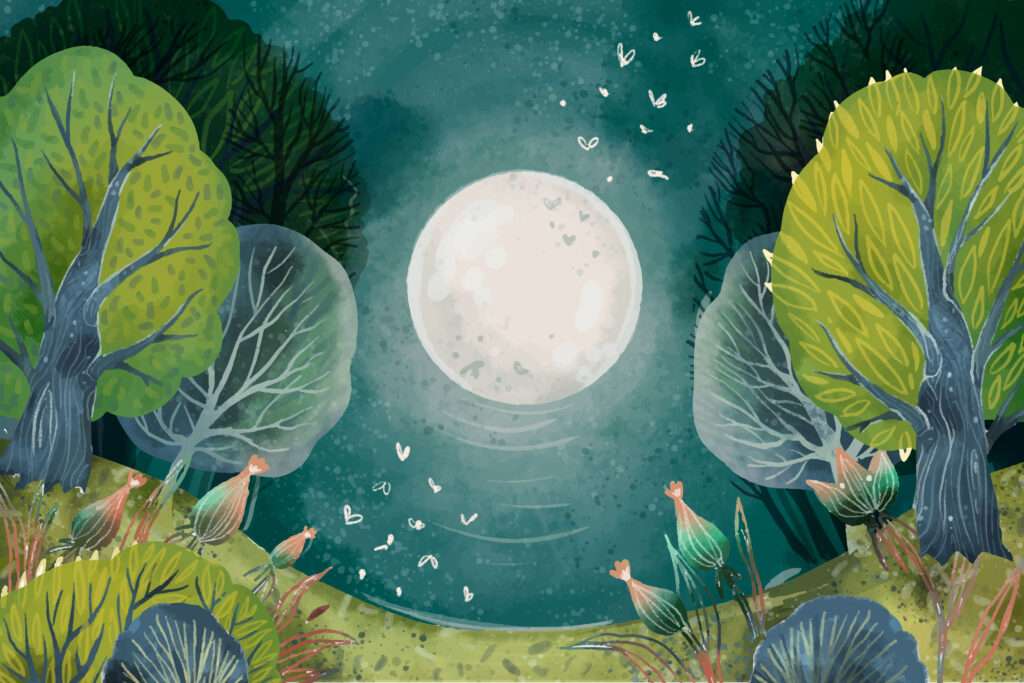
Layering
Layering is the foundation of lighting and shadows. It allows for control and flexibility in building up your painting. Start with a base layer, usually the sketch or line art layer. Then, create a new layer for each element you want to add depth to. This could include objects, characters, or backgrounds. Keep in mind that less is more when it comes to layers. Too many can clutter your workspace and make editing difficult.
Blending Modes
Blending modes are a powerful tool in creating lighting and shadows. They allow you to blend colors together and create different effects. Experiment with different blending modes to see which one works best for the effect you want to achieve. For example, “Multiply” is great for creating shadows, while “Overlay” is ideal for adding highlights. Remember to adjust the opacity of your layers as needed to achieve a more subtle effect.
Color Selection
Choosing the right colors is crucial in creating realistic lighting and shadows. Start with a base color for your object or character and then choose a darker shade for your shadow and a lighter shade for your highlight. Use the eyedropper tool to select colors from your artwork for a cohesive look. Also, keep in mind the light source and how it affects the color of your object. For example, a warm light source may cast warmer shadows.
Exploring the Basics of Dynamic Lighting in Watercolor Illustrations
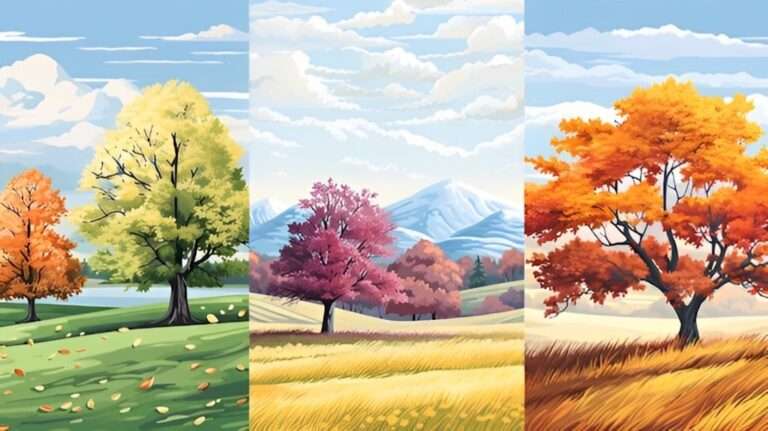
Understanding dynamic lighting begins with recognizing light sources and their impact on the subject. In watercolor illustrations on Procreate, you can simulate the light source by selecting a brighter color palette for the areas directly hit by light. The key is to gradually blend these into the base colors to achieve a seamless transition, mimicking the natural diffusion of light. Additionally, consider the color temperature; warmer colors suggest a light source like the sun, while cooler tones can indicate moonlight or artificial light. Experimenting with layer opacity and blending modes further enhances the effect, allowing for the creation of more realistic and dynamic lighting in your illustrations.
Tools and Techniques for Creating Dynamic Lighting
Tools and Techniques for Creating Dynamic Lighting
In Procreate, artists have access to a wide array of tools that can help simulate the dynamic lighting effects found in traditional watercolor illustrations. Key among these tools are the layer blending modes, which can be used to add depth and realism to your work.
- Layer Blending Modes: Experiment with blending modes like Multiply for shadows and Overlay for light. These modes allow for the simulation of light absorption and reflection in your illustration.
- Adjustment Layers: Use adjustment layers to tweak the brightness, contrast, and saturation to mimic the effect of lighting. This can help in enhancing the overall dynamism of the illustration.
- Alpha Locking: This technique allows you to paint within the confines of a shape or figure without going outside the lines. It’s useful for adding detailed shadows and highlights.
- Soft Brushes: For a more natural lighting effect, opt for soft, airbrush-style brushes when applying highlights and shadows. This approach can replicate the gentle blend of colors seen in traditional watercolor art.
Remember, the goal is to layer colors and textures gradually. Start with a light hand and build up to the desired intensity. By methodically applying these techniques, artists can create rich, dynamic lighting that breathes life into their digital watercolor illustrations.
The Role of Shadows in Enhancing Watercolor Textures on Procreate
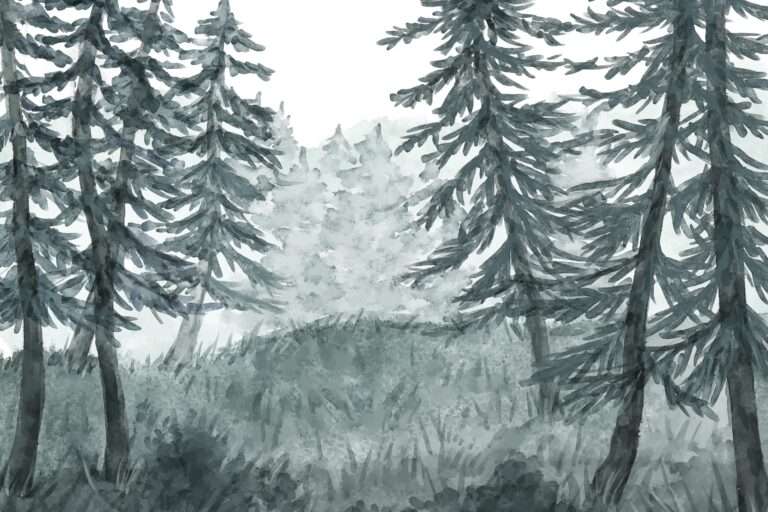
Shadows play a key role in adding realism and depth to watercolor textures in digital illustrations on Procreate. Proper use of shadows can elevate a flat image to a more dynamic one by suggesting form and light direction. By selectively darkening areas that would naturally receive less light, an artist can simulate a three-dimensional effect on a two-dimensional surface. The contrast between light and shadow areas enhances the texture of watercolor, making the artwork look more intricate and layered. To effectively create shadows, artists should consider the light source, the shape of objects, and the texture of the surface. Procreate’s brushes and adjustment tools can aid in subtly applying shadows without overpowering the delicate nature of watercolor illustrations.
Techniques for Achieving Realistic Lighting Effects in Digital Watercolors
Achieving realistic lighting effects in digital watercolors requires a combination of tools and techniques within Procreate. Key methods include:
- Layer Blending: Utilizing layer blending modes to simulate the light’s interaction with the watercolor textures.
- Highlight Layers: Adding layers dedicated to highlights, setting them to a higher opacity near light sources and tapering off where light naturally diminishes.
- Color Temperature: Adjusting the color temperature to reflect the time of day or light source, using warmer tones for sunlight and cooler tones for moonlight or artificial light.
- Gradient Maps: Applying gradient maps can aid in creating a cohesive lighting environment by aligning colors to correspond with the light’s source and direction.
- Use of Shadows: As discussed, effective shadow placement is crucial. It’s not just about darker colors but the right hue and softness to reflect natural lighting.
- Reflections: Where applicable, incorporating reflections can enhance the realism, especially in scenes with water or glossy surfaces.
Each technique contributes to the overall lifelike quality of a digital watercolor painting, making the art not just a flat representation but a scene with depth and atmosphere.
The Art of Balancing Light and Shadow in Procreate Illustrations
Balancing light and shadow in Procreate illustrations is essential for adding depth and realism. This process involves understanding the relationship between light sources and the objects they illuminate, affecting the intensity and direction of shadows. It’s about creating a harmonious balance between bright and dark areas, enhancing the overall composition. Techniques such as layering, blending modes, and careful observation of real-world lighting help artists achieve this balance. Mastery of light and shadow not only elevates the visual impact of an illustration but also imbues it with emotion and atmosphere, making the artwork more compelling and lifelike.
Step-by-Step Guide to Creating Depth with Lighting in Watercolor Art
Creating depth in watercolor art, specifically in Procreate, involves a series of deliberate steps. Begin by identifying your light source. This sets the stage for everything that follows. Next, apply your base colors, keeping lighter tones where the light is strongest and darker shades where shadows fall. Layering is your tool here; build up from light to dark, allowing each layer to dry (or simulate drying in digital form) before adding the next. This gradual build-up enhances the depth. Adjust the opacity and blend modes of your layers to fine-tune the interaction of light and color. Use layer effects sparingly to highlight key areas or to add subtle light reflections. The trick is in restraint—less is often more. Finally, incorporate texture to give your artwork a tangible quality that light and shadow can play off, further increasing the sense of depth. Throughout this process, constant comparison to your light source is crucial. This methodical approach, focusing on light, layers, and texture, will create a dynamic illustration with perceived depth.
Mastering Shadow Placement in Watercolor Illustrations for Dramatic Effect
To achieve a dramatic effect in watercolor illustrations, mastering shadow placement is key. Start by analyzing your light source. Where light is strongest, shadows are faintest; where light dims, shadows deepen. Use this knowledge to map out shadow areas in your artwork. Apply a light wash for faint shadows and layer progressively darker tones for deeper shadows. Remember, shadows aren’t just black or gray; they reflect their environment. Mixing in a bit of the object’s color or the colors from surrounding objects can make shadows more realistic and integrated. Contrast between light and shadow areas amplifies drama, directing the viewer’s attention and adding emotional weight to your illustration. Precision in shadow placement, alongside controlled use of color, can transform a flat image into a story rich with depth and emotion.
Utilizing Procreate’s Tools to Simulate Natural Light in Watercolors
To simulate natural light in watercolors using Procreate, begin with the understanding of your light source. Identify the direction and intensity. Use the software’s layering feature to build up light areas gradually, allowing for a more nuanced representation of natural light. Procreate’s blending modes can be critical for achieving realistic lighting effects—experiment with “Overlay” and “Soft Light” to enhance the luminosity of your lights. The digital brush selection offers specific options that mimic watercolor textures, useful for producing light effects that feel organic. Adjusting the opacity of your brush strokes is essential; lighter touches can replicate the softness of natural light. Constantly adjust layers and opacity to refine the light in your painting, ensuring that it accurately reflects the desired time of day or atmospheric condition.
The Importance of Light Sources in Watercolor Illustration Composition
Light sources determine the mood and atmosphere of a watercolor illustration. They guide the viewer’s eye and influence the overall composition. Start by deciding the type of light source: natural or artificial. Natural light, like sunlight, changes in intensity and color throughout the day, influencing shadows and highlights. Artificial light, such as lamps, provides constant and direct illumination, creating sharp contrasts. Plan the direction and intensity of your light source before beginning your composition. This planning affects the color palette, the contrast levels, and the perception of depth in your artwork. Understanding and accurately depicting light sources enhances realism and emotional impact, making your illustration more compelling and visually dynamic.
Advanced Strategies for Dynamic Lighting in Digital Watercolor Techniques
To create dynamic lighting in digital watercolor techniques, focus on layering and color selection. Layering allows for the gradual build-up of light and shadow, which can add complexity and depth to an illustration. Use layers to experiment with different levels of transparency and to control the intensity of light in your composition. When selecting colors, consider the temperature and time of day you’re trying to depict. Warm colors can simulate sunlight or golden hour, while cool colors can reflect moonlight or overcast conditions. Incorporate blending modes like “Multiply” for shadows and “Screen” or “Add” for highlights to achieve a more natural lighting effect. Remember, the goal is to use light to guide the viewer’s focus and to add a sense of realism and atmosphere to your digital watercolor illustrations.
Simplifying Complex Lighting Concepts for Effective Watercolor Artistry
To simplify complex lighting concepts in watercolor artistry, consider the following straightforward approach:
- Observe Real Life: Study how light behaves in different environments. Notice the way it interacts with objects and surfaces.
- Start Simple: Begin with a single light source. Understand how it illuminates an object and where shadows fall.
- Use Basic Shapes: Practice by painting basic shapes with a light source in mind. This helps in grasping how light and shadow work.
- Minimal Color Pallete: Limit your color palette to avoid confusion and maintain focus on light effects.
- Layers are Key: Build up light and shadow gradually through layering. This technique allows for more control and subtlety in your artwork.
- Reflect on Reflections: Notice how light bounces off surfaces and affects the color and intensity of shadows.
Simplification is not about cutting corners; it’s about focusing on the fundamentals that make lighting in watercolor artistry effective and compelling. By observing and understanding real-life lighting, starting simple, and practicing with basic shapes and limited colors, you can create stunning watercolor illustrations that utilize light to guide the viewer’s focus and add a sense of realism. Remember to use blending modes such as “Multiply” for shadows and “Screen” or “Add” for highlights, as well as layers to build up your lighting gradually and reflect on how light affects surfaces. With practice, you can master complex lighting concepts and elevate your watercolor artistry to the next level. So, keep experimenting with light and shadows in your artwork, and don’t be afraid to push yourself outside of your comfort zone. Happy painting!
Elevate Your Art with Procreate's Watercolor Brushes from AF Brush Packs
Enhance your digital artistry with AF Brush Procreate Watercolor Brushes Sets! Immerse in unparalleled fluidity, mimicking authentic watercolor textures that bring lifelike vibrancy to every piece.
Each stroke delivers delicate gradients and exquisite, natural bleed effects, fostering an environment where creativity knows no bounds. Elevate landscapes, portraits, and abstract pieces with these meticulously crafted tools designed for novices and professionals alike.
Explore an expansive palette of possibilities, transforming your artwork into masterpieces.